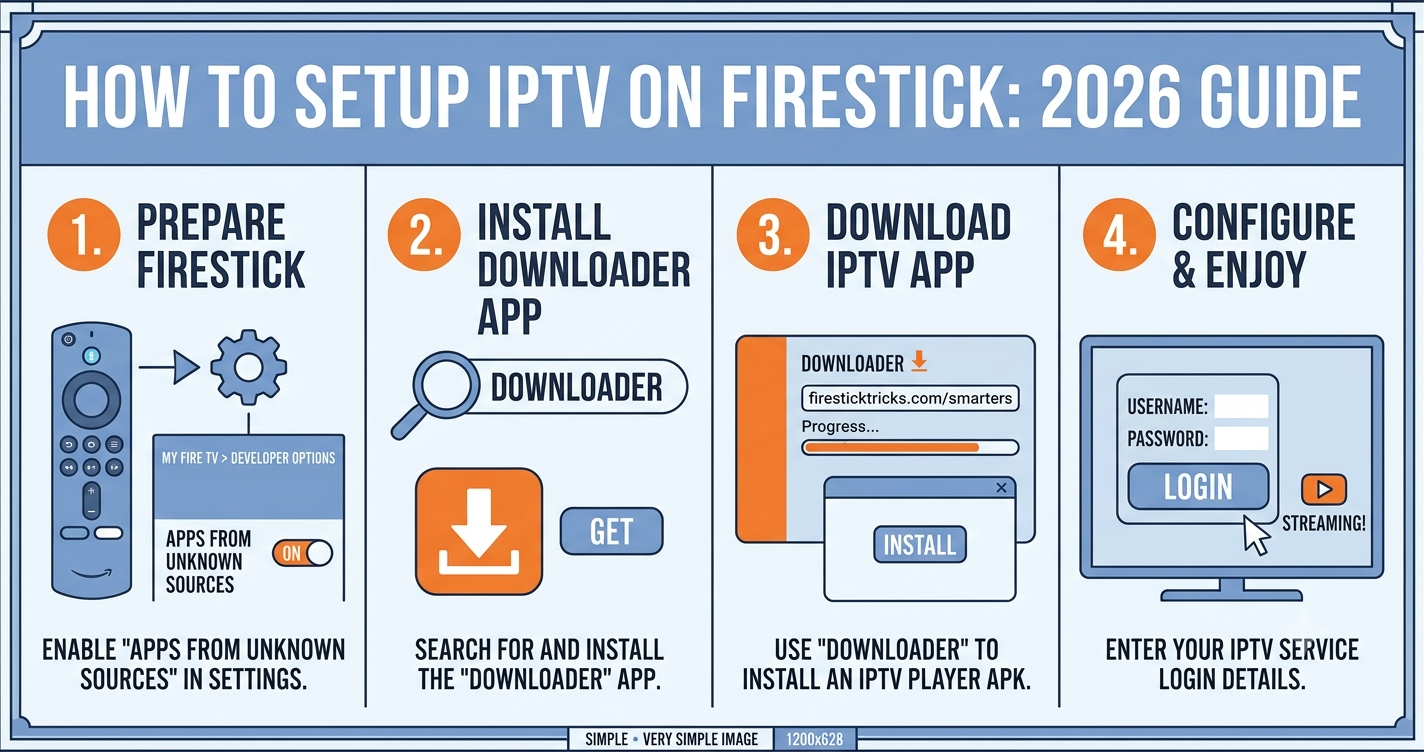
Getting IPTV working on a Firestick comes down to four things: enabling apps from unknown sources, installing a player like TiviMate through the Downloader app, entering your playlist details, and checking your connection can handle the stream. If you’re wondering how to setup IPTV on Firestick step by step, that sequence is the whole process, and most people who get stuck do so at one of those four points rather than somewhere mysterious. The rest of this guide walks through each step properly, explains why Firesticks behave differently from other devices, and covers the fixes for the problems that show up most often once everything is installed.
What You Need Before You Start
A few things need to be in place before you open a single app. Skipping this stage is the most common reason people restart the whole setup halfway through.
You’ll need an active IPTV subscription with login details, usually an M3U playlist URL or Xtream Codes server address, username and password. You’ll also need a stable internet connection, ideally with enough bandwidth to support the resolution you’re planning to watch. Standard definition streams generally need less than 10 Mbps, while full HD and 4K content need considerably more, and a shared household connection with several devices active can push actual available bandwidth lower than your advertised speed suggests.
A Firestick that’s fully updated helps too. Older Fire OS versions occasionally have quirks with sideloaded apps, so checking for a system update first (Settings > My Fire TV > About) can save you troubleshooting later.
Pro tip: Write down your M3U URL or Xtream Codes details somewhere you can copy and paste from, such as a notes app on your phone. Typing a long server URL manually on a TV remote is where most setup mistakes happen.
Basic Setup vs a Better Setup
There’s a working setup and there’s a setup that holds up over weeks of regular use. The table below shows the difference.
| Area | Basic setup | Better setup |
|---|---|---|
| Connection | Wi-Fi only, default settings | Ethernet adapter or Wi-Fi close to router |
| Player app | Whatever loads first | TiviMate or another app with EPG and multi-profile support |
| Playlist entry | Typed manually on remote | Copied via Downloader or synced from a notes app |
Neither approach is wrong for a quick test, but if you’re setting this up as your main way of watching, the right-hand column tends to cause fewer headaches later.
How to Setup IPTV on Firestick Step by Step
This is the core process. It applies to TiviMate, which is the most widely used option, though other IPTV players follow a near-identical pattern.
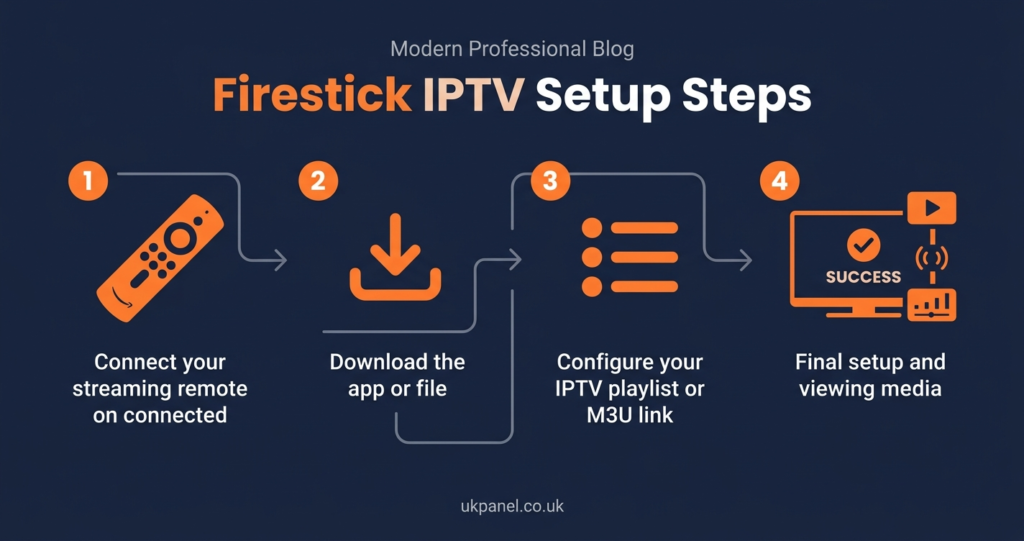
- Enable Developer Options.Go to Settings > My Fire TV > Developer Options. If you don’t see this menu, go to Settings > My Fire TV > About and click on the Fire TV Stick name several times until Developer Options appears.
- Turn on Apps from Unknown Sources. Inside Developer Options, toggle this on and confirm. This allows apps installed outside the Amazon App Store to run.
- Install Downloader. Go back to the home screen, open the Amazon App Store, search for Downloader (by AFTVnews), and install it.
- Download your IPTV player’s APK. Open Downloader and enter the correct URL for the app you’re installing, or search the Downloader code catalogue for the app name. Select Go.
- Install the app. Once downloaded, select Install, wait for it to finish, then select Done. Deleting the APK file afterwards frees up storage.
- Open the app and add your playlist. Choose the M3U or Xtream Codes option depending on what your provider issued, and enter the details exactly as supplied.
- Add your EPG URL if you have one. This populates the programme guide. It’s optional but makes browsing far easier.
- Wait for the playlist to load. Larger playlists can take up to a minute or two on a first load.
- Test playback on a few channels. Confirm picture and sound are working before considering the setup finished.
Pro tip: If Downloader throws an error when fetching an APK, double-check you’ve typed the URL correctly rather than assuming the app itself is broken. A single mistyped character is the most common cause.
Why Firestick Setup Differs From Other Devices
Firesticks run a customised version of Android called Fire OS, which restricts app installation to the Amazon App Store by default. That’s why sideloading through Downloader is necessary here in a way it isn’t on standard Android TV boxes, where the Google Play Store already carries most IPTV players directly. Samsung and LG Smart TVs sit somewhere else again, generally requiring an app like Smart IPTV that reads your playlist via a MAC address rather than a direct URL entry. None of these approaches is more “correct” than another; they’re just different constraints built into each platform’s software ecosystem.
Good Sign or Warning Sign When Choosing an IPTV Provider
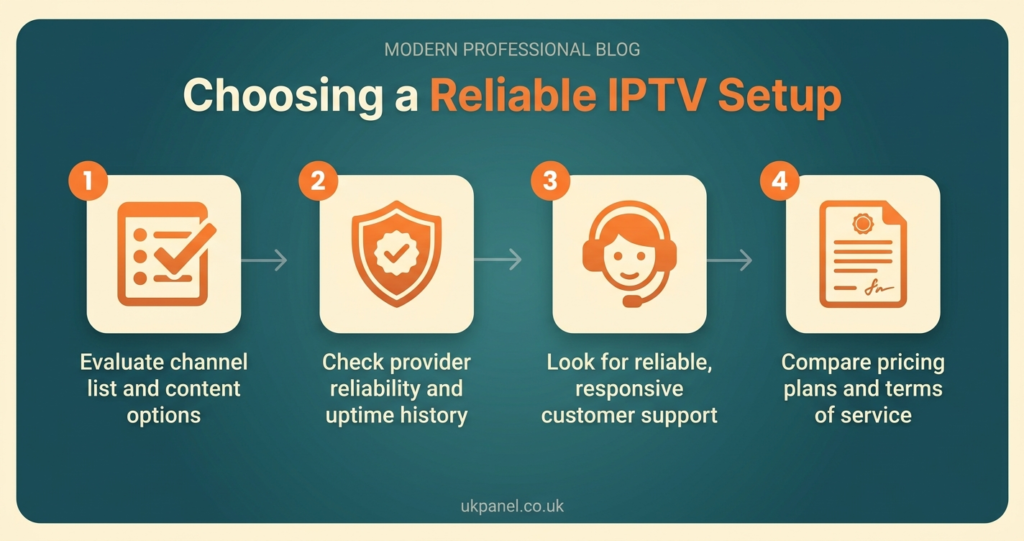
Before you commit to a subscription worth setting up properly, it’s worth knowing what separates a provider worth your time from one that isn’t.
| Good sign | Warning sign |
|---|---|
| Clear terms, refund policy, and contactable support | No way to reach anyone before you’ve paid |
| Transparent about what a trial actually includes | Vague or exaggerated claims about channel counts |
| Willing to answer questions about content sourcing | Avoids any question about where content comes from |
Providers such as Skip This, along with any other service you’re considering, are worth judging against these same points rather than taking marketing claims at face value. IPTV itself is simply a delivery technology, streaming content over the internet instead of satellite or cable, and whether any specific service is operating legitimately depends on whether it has proper rights to distribute the content it offers, not on how professional its website or payment page looks.
Common Setup Mistakes
A handful of mistakes account for most failed setups, and most are easy to avoid once you know what to look for.
| Mistake | Better approach |
|---|---|
| Entering the M3U URL with a typo | Copy and paste rather than typing manually |
| Skipping the EPG URL entirely | Add it during setup rather than as an afterthought |
| Testing only one channel | Check a few channels across categories to confirm the full playlist loaded |
| Ignoring Firestick storage warnings | Free up space before installing, since low storage causes crashes |
Sorting Out Buffering and Playback Problems
Buffering is the complaint that comes up more than any other, and it usually traces back to one of three places: your internet connection, the app’s decoder settings, or the stream itself.
Start with your connection. A wired Ethernet adapter for the Firestick removes Wi-Fi as a variable entirely, and it’s a cheap, reliable fix if buffering is frequent. If Ethernet isn’t practical, moving the Firestick closer to the router or reducing the number of other devices streaming simultaneously on the same network often helps.
If the connection genuinely isn’t the issue, check the player app’s decoder setting, usually found under playback or video settings. Switching between hardware and software decoding resolves playback stuttering on some Firestick models, particularly older ones with less processing headroom.
If problems persist across multiple channels and you’ve ruled out your own connection, the issue may sit with the provider’s server capacity rather than anything on your end, which is worth raising with their support team directly.
Subscriber Guidance: What to Check Before You Commit
If you’re setting this up as a paying subscriber rather than just testing a trial, a few checks are worth doing before you rely on the service day to day. Confirm exactly how many devices or simultaneous connections your subscription allows, since exceeding that limit typically causes playback to fail rather than simply queue. Check the refund policy in writing rather than assuming a generous return period, and keep a record of what you were told versus what’s in the actual terms. Ask how support is handled if something breaks after the initial setup window, since ongoing responsiveness matters more than a smooth first activation.
Reseller Note: Supporting Customers Through Firestick Setup
If you run an IPTV reseller panel and issue subscriptions to your own customers, Firestick questions will make up a large share of your support requests, since it remains one of the most common devices people use. Having a simple, repeatable setup document you can send straight to customers, alongside the credentials your panel generates, cuts down on repeated back-and-forth. It’s also worth confirming your provider’s own setup documentation before pointing customers to it, so the steps match what your specific panel actually produces.
Getting Extra Help
If you’ve worked through the steps above and something still isn’t loading correctly, it’s usually faster to contact support directly with details of the exact error you’re seeing than to keep repeating the same steps. Screenshots of any error message, along with your device model and app version, help a support team diagnose the issue far more quickly than a general description.
Visible FAQ Section
Do I need to jailbreak my Firestick to install an IPTV app?
No. Enabling Apps from Unknown Sources in Developer Options is sufficient. This is a standard Fire OS setting, not a modification to the device’s software, and it doesn’t void any warranty.
Which IPTV player app should I use on Firestick?
TiviMate is the most widely used option because of its interface and EPG support, though OTT Navigator and other players work similarly. The right choice often comes down to personal preference once you’ve tried more than one.
Why does my playlist show no channels after loading?
This usually means an active filter is hiding categories within the app, or the subscription hasn’t fully activated yet. Checking the app’s category filters and confirming activation with your provider resolves most cases.
Can I use IPTV on more than one Firestick with the same subscription?
That depends entirely on your subscription’s connection limit. Using the same credentials on more devices than permitted usually causes one or more streams to fail rather than allowing extra simultaneous connections.
Is a VPN required to use IPTV on Firestick?
No, a VPN isn’t a requirement for the setup process itself. Some people choose to use one for general privacy on shared networks, but it isn’t part of the core installation steps.
How long does the full setup usually take?
For someone doing it for the first time, allow around fifteen to twenty minutes. It moves faster on repeat setups once you’re familiar with the Downloader and player app steps.
Conclusion
If you take one thing from this guide, it’s that how to setup IPTV on Firestick step by step really is just four stages: enabling unknown sources, sideloading a player through Downloader, entering your playlist details, and confirming playback works cleanly. Most problems that come up afterwards trace back to a connection issue, a decoder setting, or a mistyped URL rather than anything more complicated.
No setup guide can guarantee a flawless experience on every network or with every provider, since stream quality depends on factors outside the installation process itself, but working through the steps properly the first time avoids the majority of common issues. If something still isn’t working once you’ve checked the basics, reaching out to your provider’s support team with specific details is the fastest way forward.
Setup Checklist
- Confirm your M3U or Xtream Codes details are correct before starting
- Update your Firestick’s software before installing anything
- Enable Developer Options and Apps from Unknown Sources
- Install Downloader from the Amazon App Store
- Sideload your chosen IPTV player app
- Enter your playlist and EPG URL carefully, ideally by copy and paste
- Test playback across several channels, not just one
- Note your provider’s support contact in case you need it later.